Save Money
Healthy Air is good for your wellbeing, and can save you money on energy costs and prevent damage to your indoor environment.
Healthy Air, Your Way. Control your home's Indoor Air Quality solutions whenever, wherever.
Download Now:


The AprilAire Healthy Air App works with your AprilAire connected devices and provides you with a powerful level of control—no matter where you are. The new and improved AprilAire Healthy Air App is here! Along with a new look and feel, the Healthy Air App is more intuitive and more reliable than ever before. We’ve upgraded the app’s operating cloud to ensure better connection and operation.
Healthy Air is good for your wellbeing, and can save you money on energy costs and prevent damage to your indoor environment.
Choose how and when you would like to be notified of various alerts, service reminders, weather updates, seasonal tips, and more.
Monitor and adjust temperature, humidity, and air quality—even when you're away
Fill your home with Healthy Air for improved virus protection, greater health, increased productivity, and better sleep with the all-in-one AprilAire Healthy Air System®.
What's Included:
The new AprilAire Healthy Air App is here! It's intuitive, easy-to-use, and optimized for reliability.
Download Now:


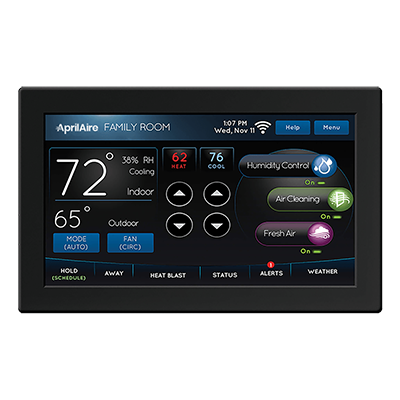
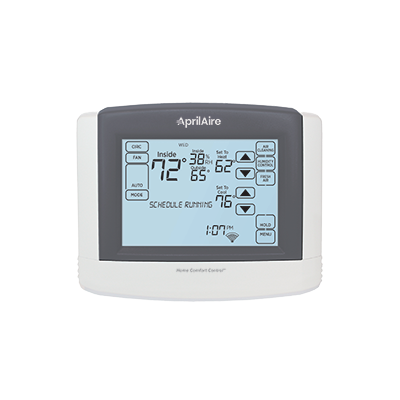
See All Compatible AprilAire Wi-Fi Thermostats

Establish a Healthy Home with AprilAire Healthy Air Professionals that care. We have over 4,500 pros nationwide who are ready to help you find the best Healthy Air solutions for your home, no matter what your needs may be. Start your journey with AprilAire.